Have you ever downloaded an embroidery design, tried to make it just a little bigger, and ended up with a stitched-out mess full of ugly gaps? Or perhaps you tried to shrink a design, only to have it turn into a stiff, dense block where the needle could barely get through?
This is one of the most common and frustrating problems for new embroiderers, and it’s almost always caused by a misunderstanding of the single most important concept in digitizing: the difference between stitch-based and object-based files. Grasping this idea is the key to unlocking true editing power and achieving perfect results every time.
The Core Analogy: Vector Art vs. a Photograph
The easiest way to understand the two file types is to compare them to graphic design files, a concept many people are already familiar with.
Object-Based Files are like Vector Graphics (.AI,.SVG)
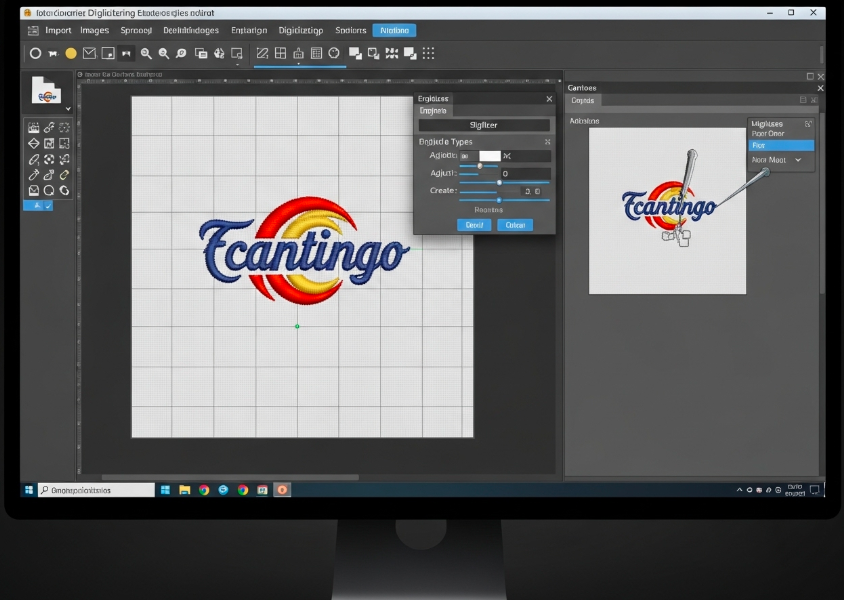
An object-based file is the “master” or “source” file created within your digitizing software (a common professional example is Wilcom’s.EMB format).1 In this type of file, the software doesn’t just see a collection of stitches; it understands the design as a collection of shapes and objects, each with its own properties.3
The software knows:
- “This is a circle.”
- “It is filled with a Tatami stitch at a 45-degree angle.”
- “It has a red satin stitch border that is 3mm wide.”
Because the software understands the design’s underlying structure, these files are incredibly flexible. You can resize, reshape, and edit them freely. When you make an object-based design larger, the software intelligently recalculates the number of stitches needed to maintain the correct density and quality, ensuring a perfect stitch-out.1
Stitch-Based Files are like Raster Graphics (.JPG,.PNG)
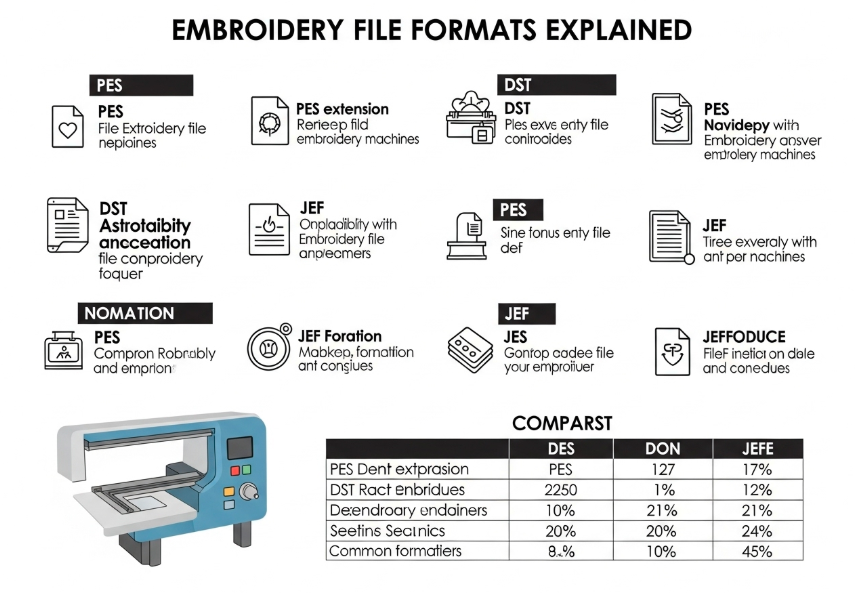
A stitch-based file (like the common.PES,.DST, or.JEF formats) is the final output you send to your embroidery machine. This file is simply a map of needle penetration points.3 It is a long list of X-Y coordinates that tells the machine “needle down here, needle down there, now jump to this new spot.”
The machine has no concept of a “circle” or a “fill.” It only sees the individual stitch points.3 This type of file is not designed to be edited; it is designed to be stitched.6
Why This Distinction is Critical for Your Embroidery Projects
Understanding this difference is not just technical trivia; it has huge practical implications for your work.
The Dangers of Resizing Stitch-Based Files
The number one rule is that you cannot significantly resize a stitch-based file and expect good results. The general guideline is to avoid scaling them by more than 10-15%.8
Here’s why:
- When you make it larger: The software simply moves the existing stitch points farther apart. The total number of stitches remains the same, which creates unsightly gaps and poor coverage in your design.3
- When you make it smaller: The software crams the same number of stitches into a smaller area. This makes the design overly dense, stiff, and “bulletproof,” which can lead to puckering, fabric damage, and even needle breaks.3
The Power of Editing Object-Based Files
In contrast, when you edit an object-based file, you have complete control. You can:
- Dramatically resize the design while the software recalculates the stitches for you.
- Change a fill stitch to a satin stitch with a single click.
- Adjust the density, angle, and pull compensation of any element.
- Easily change the colors of different objects.
This flexibility is why having powerful digitizing software is so valuable. It allows you to work in a flexible, object-based environment to perfect your design before exporting the final, unchangeable stitch file for your machine.
The Golden Rule of Digitizing: Always Save Your Master File
This leads to the most important rule for any digitizer, from beginner to pro: Always save and back up your native, object-based design file.9 This is your editable master copy. The machine file (.PES,.DST, etc.) is just the final export you create for a specific project. If you ever need to make changes, you must go back to your original object-based file, make the edits, and then export a new machine file.
For a deeper technical dive into this concept, the embroidery software company Wilcom provides an excellent explanation on their blog:(https://wilcom.com/resources/blog/compare-emb-and-dst).3
Frequently Asked Questions (FAQs)
Can I edit a PES or DST file?
You can only perform very minor edits on stitch-based files like.PES or.DST. You can change colors or delete a few stitches, but you should not resize the design by more than 10-15%. Any significant changes will degrade the quality of the design.
What is a native embroidery file?
A native file is the master, object-based file format used by a specific digitizing software (e.g.,.EMB for Wilcom EmbroideryStudio).10 It contains all the original design information and is fully editable.
Why does my design look bad after I made it bigger?
This almost always happens because you tried to resize a stitch-based file (like.PES or.DST). When you enlarge a stitch-based file, you are just spreading the existing stitches farther apart, which creates gaps and a sparse-looking design. To resize properly, you must use the original object-based file.
What is the best file format to save my designs in?
The best practice is a two-file strategy. Always save your primary, editable design in your software’s native, object-based format. This is your master file. Then, when you are ready to stitch, use the “Export” or “Save As” function to create a copy in the stitch-based format that your specific embroidery machine requires (e.g.,.PES for a Brother machine).


