If you’ve just stepped into the exciting world of machine embroidery, you’ve likely heard the term “digitizing.” It sounds technical, but at its heart, digitizing is the creative process of translating visual art into a language that an embroidery machine can understand and execute.1 It is the essential bridge between a picture on your screen and a beautifully stitched design on fabric.
This guide will walk you through everything a beginner needs to know, from the basic definition to the step-by-step process, helping you understand how to turn any idea into a professional-quality embroidered reality.
Why is Digitizing So Important?
Embroidery digitizing is the crucial first step for achieving high-quality, professional results with your machine.1 Without a properly digitized file, even the most advanced embroidery machine cannot produce a clean, crisp design. The digitized file acts as a detailed blueprint, dictating every single action the machine takes, including 1:
- Where to place each stitch
- The type of stitch to use (e.g., a smooth border or a textured fill)
- The density and length of the stitches
- The direction of the stitching
- When to stop for a thread color change
Essentially, the quality of your final embroidered product is almost entirely dependent on the quality of the initial digitization. Learning the basics, even if you plan to outsource later, will help you recognize good work and communicate your needs effectively.2
The Essential Toolkit for a Beginner Digitizer
Before you can start turning images into stitches, you’ll need a few key tools. While you can expand your toolkit over time, these are the absolute essentials to get started.1
The Computer and Software
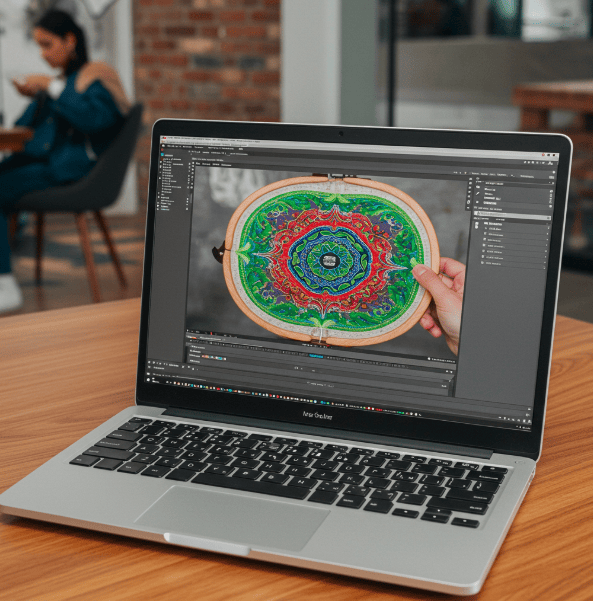
A reliable computer is the foundation of your digitizing setup. The most critical tool, however, is specialized digitizing software.3 This is where the magic happens. This software allows you to import an image and manually plot out the stitches, or use automated tools to convert the artwork into an embroidery file.4
Popular software options for hobbyists and professionals include:
- Brother PE-Design 11: Known for its seamless integration with Brother machines and powerful features like PhotoStitch.5
- Hatch Embroidery: A user-friendly option that is great for beginners and home-based businesses.6
- Wilcom EmbroideryStudio: Often considered the industry standard for professional digitizers.7
The Embroidery Machine
While you can learn the software without one, you will need an embroidery machine to perform test stitch-outs and bring your final designs to life.1 Watching your designs sew out is one of the best ways to learn how different settings affect the final product on various fabrics.8
The Embroidery Digitizing Process: A Step-by-Step Guide
Embroidery digitizing is a skill that blends technical understanding with artistic interpretation.9 While every project is different, the fundamental workflow follows a consistent path from image to stitch file.
Step 1: Choosing and Preparing Your Artwork
The quality of your final embroidery begins with the quality of your initial artwork. For the best results, start with a clean, high-resolution image.6
- Ideal Artwork: Vector files (like.AI or.SVG) are perfect because they can be resized without losing quality.3 However, high-resolution raster images (like.JPG or.PNG) can also work well.
- What to Avoid: Steer clear of low-resolution images, screenshots, or designs with overly complex details, tiny text, and subtle color gradients, as these elements do not translate well into stitches.1 Before importing, it’s often helpful to simplify the design, focusing on the key shapes and colors.3
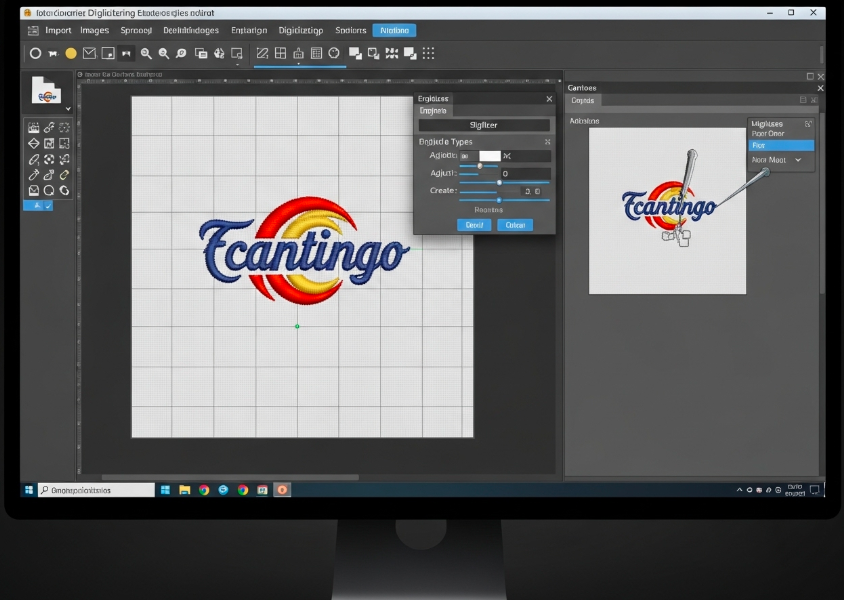
Step 2: Importing and Setting Up in the Software
Once you have your artwork, the next step is to import it into your digitizing software.12 The software will place the image on a digital canvas, often called a hoop. Here, you will set up your project by defining the final dimensions of the design and, crucially, selecting the type of fabric you will be stitching on.13 Many modern programs, like PE-Design 11, have a “Fabric Selector” that automatically adjusts stitch settings to prevent issues like puckering.5
Step 3: The Art of Tracing and Assigning Stitch Types
This is the heart of the digitizing process. You will trace the elements of your artwork to create stitchable objects. This can be done manually for maximum control or by using an “auto-digitizing” feature for simpler designs.4 As you trace each shape, you will assign a stitch type. The three most fundamental stitch types are 12:
- Running Stitch: A single line of stitches, perfect for outlines, fine details, and creating an underlay foundation.
- Satin Stitch: A series of closely packed zigzag stitches used to create smooth, bold borders and lettering.
- Fill (or Tatami) Stitch: Used to cover large areas with solid color, creating texture through rows of running stitches.
Step 4: Defining the Path and Stitch Properties
A skilled digitizer carefully plans the pathing, which is the sequence the machine will follow to stitch the design.12 Good pathing minimizes the number of “jump stitches” (long threads between two stitched areas) and trims, resulting in a cleaner design and a faster stitch-out.12 You will also define key properties like stitch direction, density (how close stitches are), and underlay (a stabilizing layer of stitches).1
Step 5: Adding Color and Final Touches
In this step, you assign thread colors to each part of your design.1 Your software will have a color palette that corresponds to real-world thread brands, allowing you to create a realistic preview of the final product.13
Step 6: The Golden Rule – Always Test Your Design
No matter how perfect a design looks on screen, you must always perform a test stitch-out on a scrap piece of the same fabric you plan to use for the final project.14 This is the only way to see how the thread, fabric, and design settings interact and to catch any potential issues like puckering or poor density before you ruin a valuable garment.10
Step 7: Exporting the Final Machine File
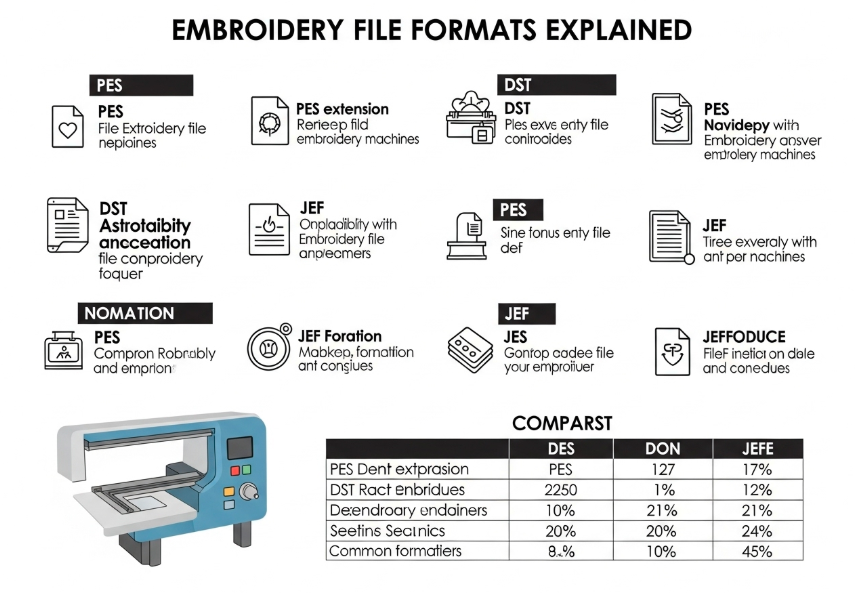
Once you are happy with your test, the final step is to export the design from your software into a machine-readable file format.12 Each machine brand uses a specific format, so it’s vital to save it in the correct one. Common formats include 2:
- .PES for Brother, Babylock, and Bernina machines
- .DST for Tajima and most commercial machines
- .JEF for Janome machines
- .EXP for Melco machines
Learning and Improving Your Skills
Digitizing is a craft that takes time and practice to master.8 Don’t be discouraged if your first attempts aren’t perfect. The best way to learn is by doing: create designs, stitch them out, analyze the results, and refine your process.18
There are many excellent resources available to help you learn. YouTube is a fantastic place for tutorials on specific software and techniques. One of the most respected educators in the field is John Deer, whose channel, Embroidery Legacy, offers a wealth of information for beginners and experts alike.8
Frequently Asked Questions (FAQs)
Can I digitize an image for free?
Yes, there are ways to digitize for free, though they may have limitations. Many professional software companies offer free trial versions (like the 30-day trial for Hatch Embroidery) that you can use to learn.19 There are also open-source programs like Ink/Stitch that are completely free, though they may have a steeper learning curve than paid software.4
What is the difference between auto-digitizing and manual digitizing?
Auto-digitizing is a feature in many software programs that automatically converts an image into stitches with a single click. It’s fast and good for simple designs.20 Manual digitizing is when a person traces every element of the design by hand, giving them full control over stitch types, direction, and pathing. Manual digitizing takes more skill and time but almost always produces a higher-quality result, especially for complex designs.4
What is the best image format for digitizing?
The ideal format is a vector graphic (like.AI,.SVG, or.EPS) because it is made of clean lines and shapes that can be scaled without losing quality.3 However, most software can also work with high-resolution raster images like.PNG and.JPG. The key is to start with the clearest, highest-quality image possible.6
Why is my embroidery puckering or looking messy?
Puckering and other stitch-out issues are usually caused by a few common digitizing mistakes. These include using the wrong stitch density for your fabric, not using the correct underlay to stabilize the design, or having an incorrect stitch direction that pulls the fabric unevenly.21 Always perform a test sew-out to catch these problems early.