Once you’ve mastered the basics of editing and combining designs, you might find yourself asking, “What’s next?” For those who want to elevate their craft from simple personalization to true creation, PE-Design 11 offers a suite of powerful tools that let you design your very own embroidery assets.
Two of the most powerful of these are the Stitch Design Factory and the Font Mapping Tool. These features transform you from a design user into a design creator, giving you the ability to craft unique decorative stitches and custom fonts that no one else has.1 This guide will introduce you to these advanced tools and show you how to get started.
Part 1: The Stitch Design Factory – Invent Your Own Stitches
Have you ever wished for the perfect decorative fill pattern for a quilt block, or a unique outline stitch that isn’t in the built-in library? The Stitch Design Factory is your answer. This powerful utility allows you to design and save your own decorative sewing stitches up to 100mm wide.1
How to Create a Custom Stitch
Creating a new stitch is a straightforward process that involves drawing a pattern and saving it to your library.
- Launch the Stitch Design Factory: You can find this in your PE-Design 11 program folder.
- Draw Your Pattern: The interface provides a simple grid with drawing tools. You can create any pattern you like, from a simple wave to a complex floral motif. The software will automatically generate the stitch points based on your drawing.
- Set the Stitch Type: You can define your creation as a Decorative Stitch, Decorative Satin Stitch, or Cross Stitch, among others.4
- Save Your Stitch: Once you are happy with your design, save it. The software will create a file that can be read by the main Layout & Editing program.
- Apply Your New Stitch: Back in the main PE-Design 11 window, your custom stitch will now be available in the stitch selection menus. You can apply it as a line stitch for borders or as a region sew type for a unique decorative fill, just like any built-in stitch.5
This tool is perfect for quilters who want custom stippling patterns or for designers looking to add a signature, one-of-a-kind texture to their work.
Part 2: The Font Mapping Tool – Become a Type Designer
While PE-Design 11 comes with over 130 built-in fonts, the Font Mapping Tool gives you the power to create infinitely more.1 This feature lets you take individually digitized letters and “map” them to keyboard characters, creating a fully functional, reusable font that you can type out just like any other.1
This is an invaluable tool for home-based business owners who want to create a unique, branded font for their products or offer exclusive monogramming styles to their clients.
How to Create a Custom Font
The process involves two main stages: digitizing the letters and then mapping them.
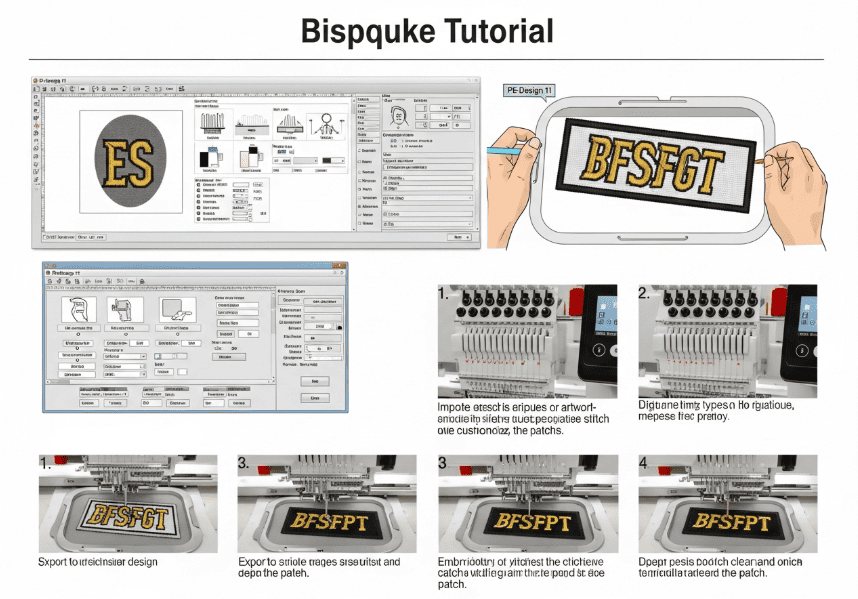
- Digitize Each Character: First, you must create and save each letter of your alphabet as a separate embroidery file (e.g., “A.pes”, “B.pes”, “a.pes”, etc.). This is the most time-consuming part, but it gives you complete creative control over the style of your font.
- Launch the Font Mapping Tool: Open the Font Creator utility from your PE-Design 11 program folder.
- Map Each Character: The interface will show a grid representing a keyboard. For each character (e.g., the letter ‘A’), you will assign the corresponding embroidery file you created (e.g., “A.pes”). You repeat this process for every character you want to include in your font.5
- Save Your Font: Once all your characters are mapped, you save the entire collection as a new font file.
- Use Your New Font: Your custom font will now appear in the text tool dropdown menu in the main Layout & Editing window. You can select it and type with it just as you would with any of the software’s built-in fonts.4
Why These Tools Matter
The Stitch Design Factory and Font Mapping Tool represent a significant step up in creative capability. They allow you to:
- Create Truly Unique Designs: Your work will stand out with stitches and fonts that are exclusively yours.
- Develop a Brand Identity: For entrepreneurs, a custom font is a powerful branding tool that can be used across a product line.
- Solve Specific Design Problems: If you can’t find the perfect decorative fill or font style for a project, you now have the power to create it yourself.
By taking the time to learn these advanced features, you can unlock the full creative potential of your PE-Design 11 software and elevate your embroidery to a new level of artistry and professionalism.
Frequently Asked Questions (FAQs)
Is there a size limit for stitches made in the Stitch Design Factory?
Yes. You can create custom decorative sewing stitches up to 100mm (approximately 4 inches) wide, which is very generous for most decorative applications.1
Does the Font Mapping Tool create the letter designs for me?
No. The Font Mapping Tool does not design the letters. You must first digitize each character of your font individually. The tool’s function is to take those individual design files and assign them to keyboard keys so they can be used as a typable font.
Where do I find my custom stitches and fonts after I create them?
After you save your creations in their respective utilities (Stitch Design Factory or Font Creator), they will automatically become available within the main Layout & Editing program. Your custom stitches will appear in the stitch type selection menus, and your custom fonts will appear in the font list within the Text tool.


